TIPS & TRICKS
What Colors Are In?

What Colors Are In?
What Colors Are Out?
Check out this video to find out!
The Cost of COLOR
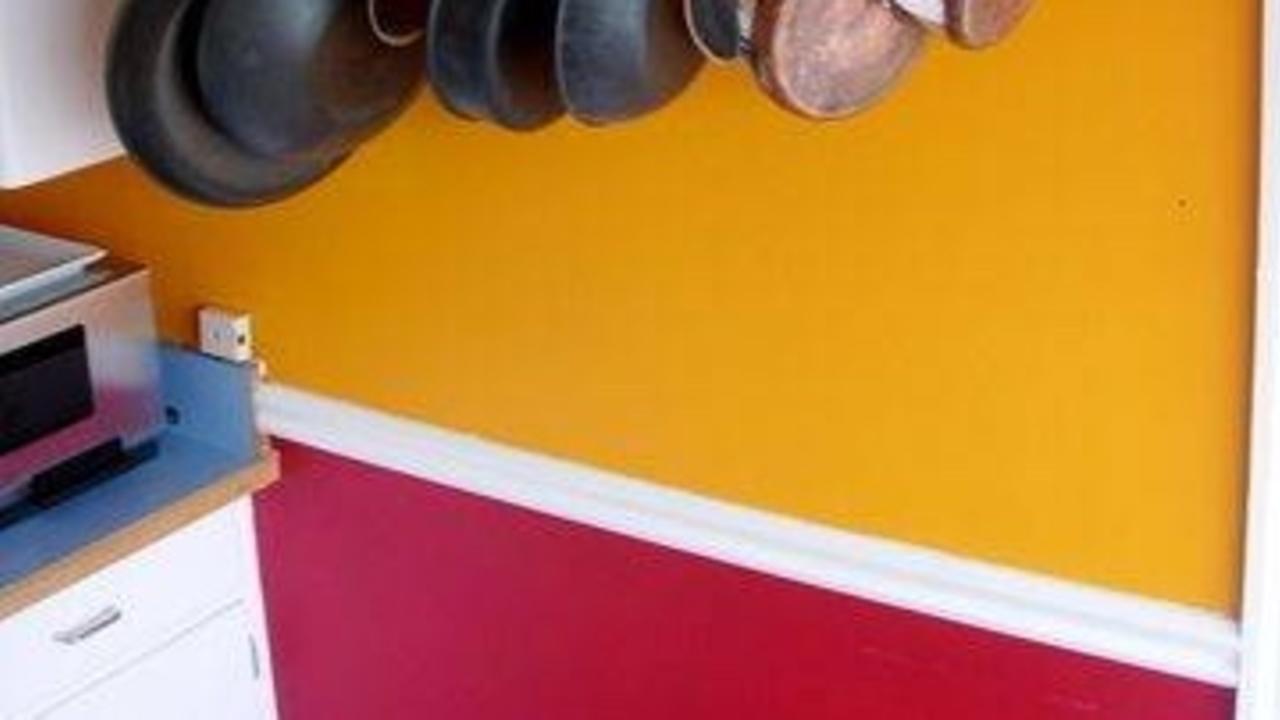
When choosing colors, it’s important to keep in mind that the cost of getting the space painted might be affected by the color choices…. And in some cases, the difference can be drastic (see below) :)
FIRST: The total number of colors.
If you decide to have a high number of colors for your project, this means the painting contractor will have to purchase a lot more paint. Extra colors will also result into more materials and more labor with all the different brushes and rollers to setup and wash.
SECOND: How dark or light the colors are.
If you decide to go with bright colors or colors that are opposite of what’s currently on the walls in terms of how light or dark the colors are, this will most likely result in a higher number of coats. Certain colors, like the ones in the image to the right, will require a grey primer to achieve the specific color. Other colors will require a white primer. Some will simply need you to apply a third coat to cover properly. Either way the end result i...
The Main Color: 3 reasons to have one in your home

During a color consultation, I usually recommend having one main color go through the majority of the house in rooms such as entrances, hallways, stairways and maybe even spare rooms (or rooms who’s function may change from time to time). This main color, which I refer to as “The Grounding Color”, is typically a grayish beige/brown color and serves a few different functions.
FIRST: Because most rooms are attached to an area where the main color is (such as hallways), it makes it very easy to coordinate various colors since this main color is usually neutral. This is great if you have specific requirements for a room but still want everything to flow well together.
SECOND: Having a neutral main color also makes it easier for the “important” rooms to stand out and help attract people to them. Essentially, entrances, hallways and stairways are only a means to an end… meaning people will have to go through them to access the kitchen, the living room, the bathroom the bedroom or any other...
Shiny Colors

When choosing colors, it’s important to recognize that the shine of the paint plays a major role in how each color will react.
For example, even if you were to choose the exact same color and paint an entire room with the following levels of shine (Flat for the ceiling. Eggshell for the walls. Semi Gloss for the trims and doors.) you would notice that each surface would look a little different from the other.
Shine intensifies each color and make it pop up. That’s why photos are usually printed on glossy paper.
The wall on the image illustrates this concept quite well. This wall was painted with the exact same color but with stripes in a glossy finish.
Caulking along a counter top
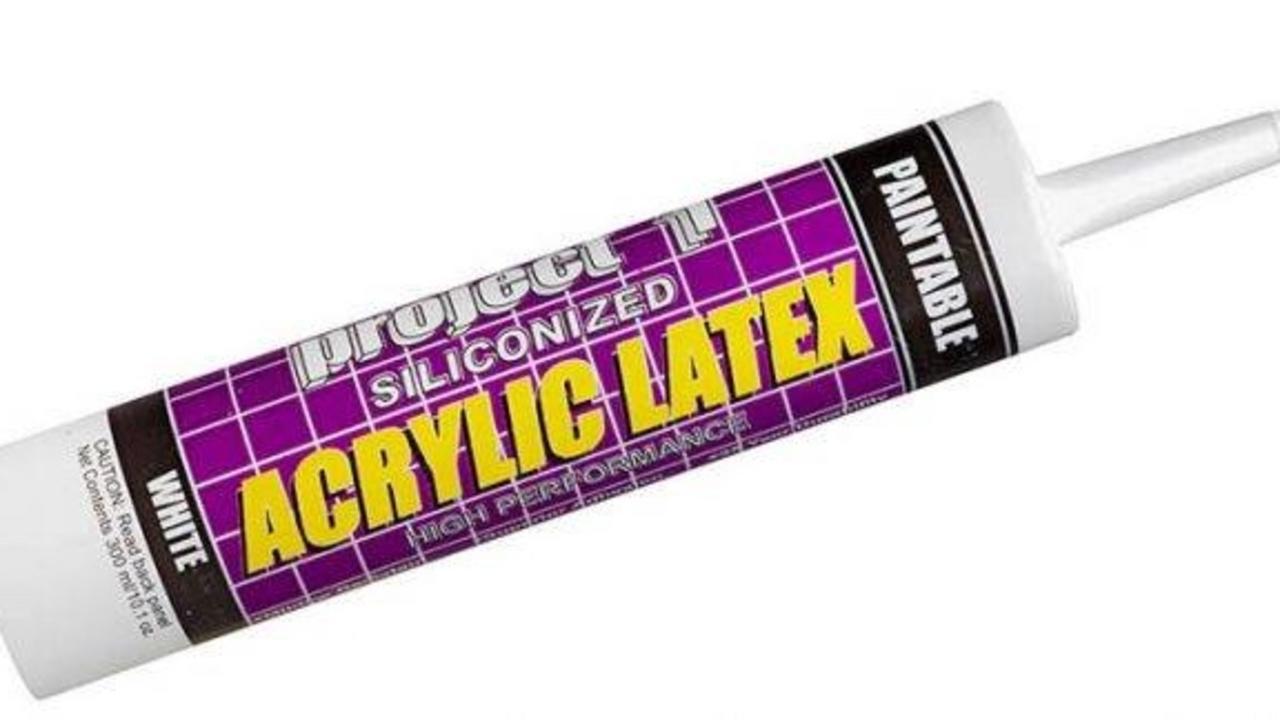
Caulking along the top of a counter is not easy, but this little trick is sure to make a world of difference in terms of time and quality.
FIRST: You’ll want to apply some painters tape along the edge of the counter to protect it. I recommend leaving a small portion of the top of the counter exposed (aprox 1 millimiter) so that the caulking has a bit of surface to grab on to. This will prevent the caulking from sinking into the hole and will make the transition from counter to wall much smoother.
SECOND: You’ll want to choose a Siliconized Acrylic Latex Caulking. This type of caulking gives you the strong bonding and flexibility of Silicone while allowing you the possibility to paint over it after you’re done.
Note: If the walls over a particular counter top are tiled, other products might be better suited.
THIRD: You’ll want to make sure the area in question is dry and free of dust. Then apply the caulking into the crevice and smooth it out with a wet finger. The excess will spil...
Lighting is Everything
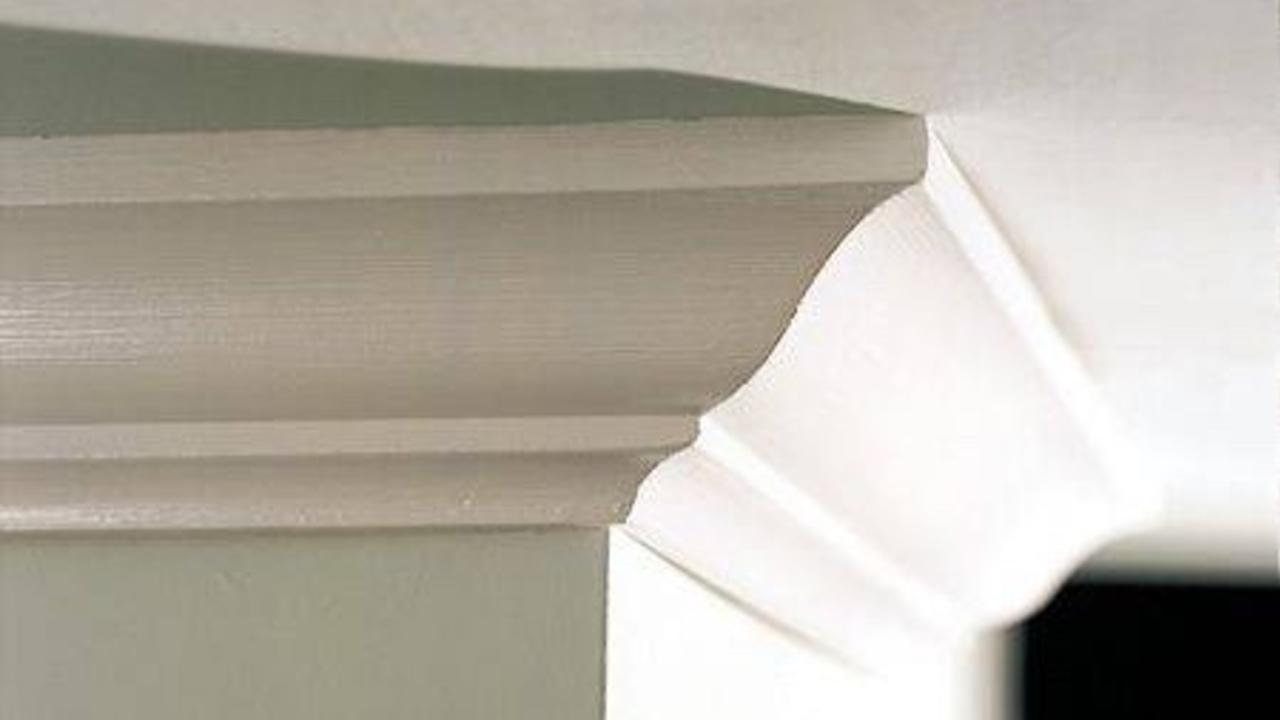
When choosing colors, it’s important to recognize that lighting plays a major role in how each color will react.
And if you don’t believe me, try looking at your walls in the dark… do your walls look the same as they do in the day light? Extreme example, I know, but it does illustrate the concept quite well I find.
When choosing colors you’ll often hear it’s best to do so during the day when there’s the most natural light… and I agree. But something to keep in mind is that this is only one source of light to enter your home. If you spend most of your days away from your home, you’ll find yourself admiring your walls at night when you count on your home’s lighting to light up the space... and that can change the look of your color.
Example: If you have a blue painted wall and your lighting has a hint of yellow to it, your color will most likely look a bit more like an aqua color at night (greenish blue).
Another thing to consider in terms of lighting is how much of it there is in ea...
How to prepare your walls for selling

1- Remove any personal pictures:
When people are going to be walking into your home, it’s important that they can imagine themselves living in your home. Doing so is much harder when you are looking at pictures of the family who’s currently living in it. Make sure your walls are decorated… but with neutral decorations that can be enjoyed by anyone.
2- Repairs cracks & nail pops:
Most people who buy a new house know that it will settle after a few years of it being built and may show cracks and nail pops. This is usually not seen as a scary thing to those people buying a new house. But keep in mind that this house you are now trying to sell will not be new to those potential buyers. This means, when potential buyers see cracks or nail pops in your home, they may be wondering if there is anything wrong with the structure of your house. Remove any potential doubt they may have and have those repaired first.
3- Update the colors:
When your house is on the market, keep in mind that it...
When should I remove the tape?
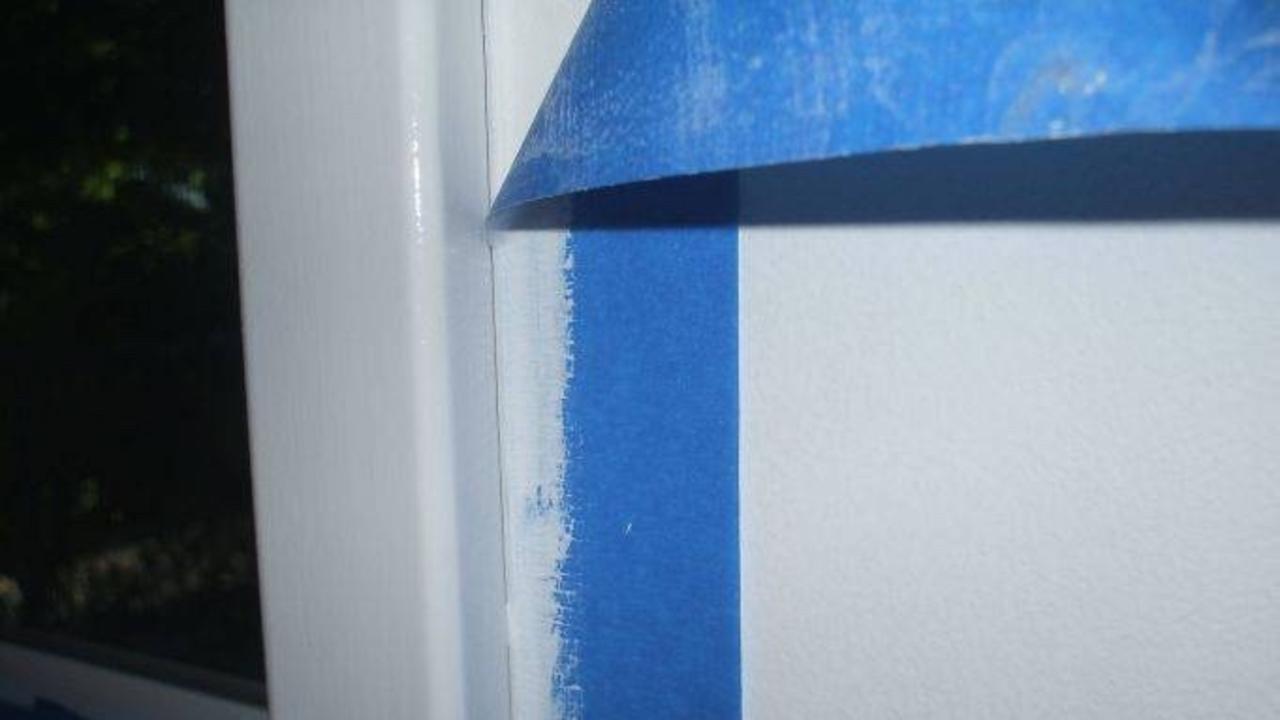
The biggest mistake I see when people are using tape is this... they tend to leave it on for way too long.
The ideal time to remove tape is immediately after you've applied your last coat. The problem is that if you leave the paint dry for too long, the paint film will have had time to dry and create a continuous film going from the wall and overlapping onto the tape... this means that you're essentially going to be tearing this paint film in two as you attempt to remove it. But by removing it as soon as you finish your last coat the tape will come off much easier and won't peel off the paint.
Why am I still seeing the wood knots?
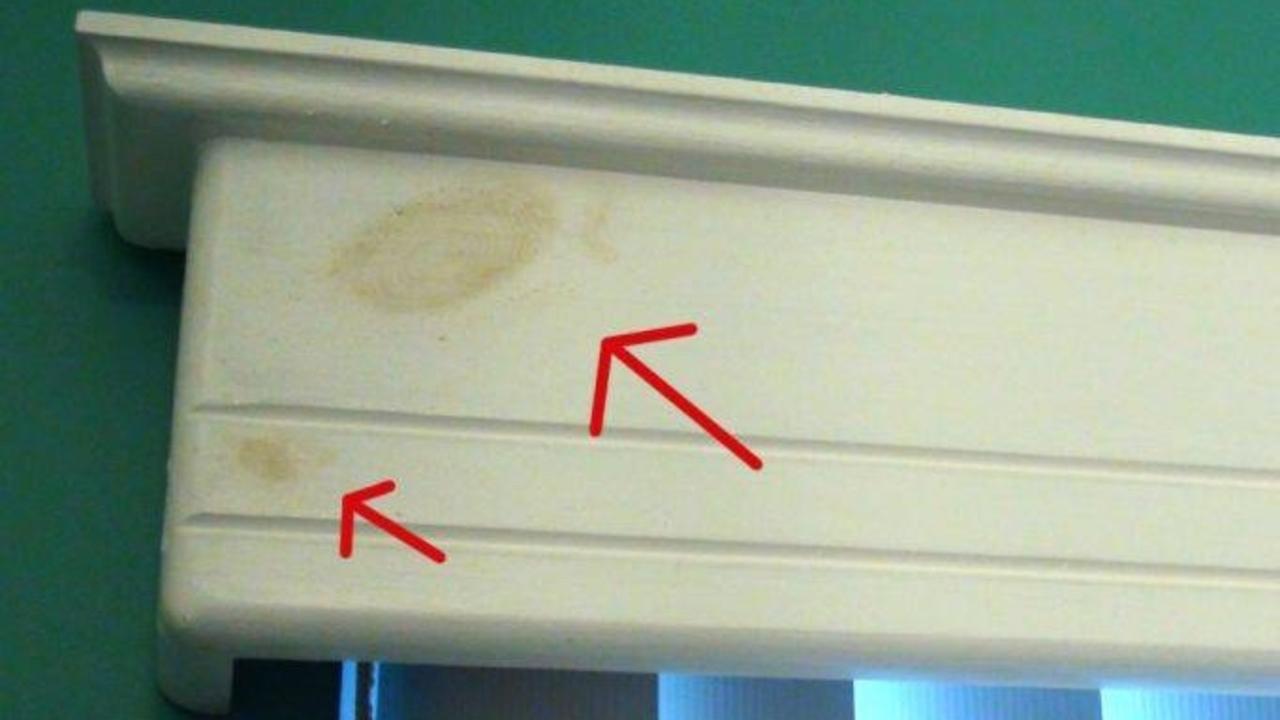
If you happen to paint over a wood knot without sealing it first, this is what happens...
To prevent this you'll want to apply a shellac based primer (the most popular one is called BIN). This primer will act as a sealant and will prevent the wood sap from bleeding through the paint. For best results I recommend applying at least 2 coats of this primer (although 3 coats is safer for really tough stains).
This primer is available in a spray can, a quart size paint can or regular size paint can and requires approximately 15 minutes of drying time between coats.
50 Shades of Beige

Beige, just like any other color, can have many different undertone colors to it. You can have a blueish beige, you can have a greenish beige, etc. Predicting how a particular color will turn out once onto the wall can be a challenging
One tip I can propose is to compare the color you're considering with others that are of a different color family. Having various shades of beige together will be much easier to tell which ones lean more towards the blue, green, red, orange or purple side.


